
This page will walk you through your first GitHub experience, creating your profile. So get ready to say “Hello World!” to the SIMCODES community!!!
N.b., to keep things simple this tutorial will show you how to create new files directly with the GitHub website. If you are familiar with git and GitHub already feel free to use whatever workflow you are comfortable with to: clone the repository, make the changes on a branch, and open a pull request.
How to create your SIMCODES Student Profile (With Picture and Bio)
Welcome to SIMCODES! This guide will help you create your personal student profile that will be listed on the Students Page. Your profile will include:
- ✅ Your name and a short introduction
- ✅ A clear profile photo
- ✅ A dedicated profile page linked from the main list
Step 0: Prerequisites
Before undertaking this tutorial ensure:
- You have signed up for GitHub.
- The SIMCODES-ISU administrators have added you to the SIMCODES-ISU organization.
- You have accepted the invite to the SIMCODES-ISU organization.
Step 1: Prepare Your Profile Pictures
We minimally will need two pictures for your profile. The first is called your “thumbnail”. To create it:
- Save a photo of yourself with a square aspect ratio.
- Resize it to around 300x300px (optional).
- Name the file like
<first>_<last>_thumbnail.png, e.g.,ryan_richard_thumbnail.png(if your name is Ryan Richard).- Throughout this tutorial quantities in angle brackets, i.e.,
<>denote placeholders that you will need to replace with the appropriate value. For example<first>will need to be replaced by your lowercase first name. - GitHub is case sensitive, so we strongly suggest using all lowercase for file names to avoid having to debug capitalization issues.
- Your file can also be a JPEG (in which case the extension would be
*.jpegand not.png).
- Throughout this tutorial quantities in angle brackets, i.e.,
The next image is called your “banner” image. It will be displayed at the top of your profile.
Step 2: Create Your Profile File.
Note that your progress on this step and the next will NOT be saved until you have finished Step 3. So make sure you set aside at least 15 minutes to complete these two steps!!!
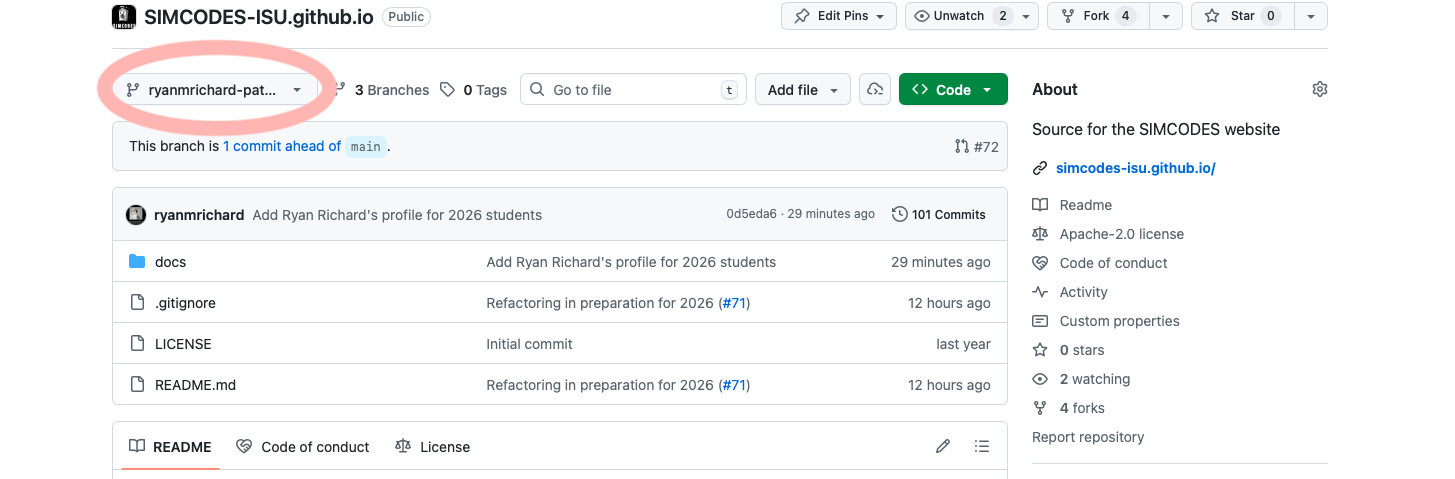
- Navigate to the GitHub repository for the
SIMCODES Website
- It should looks something like:
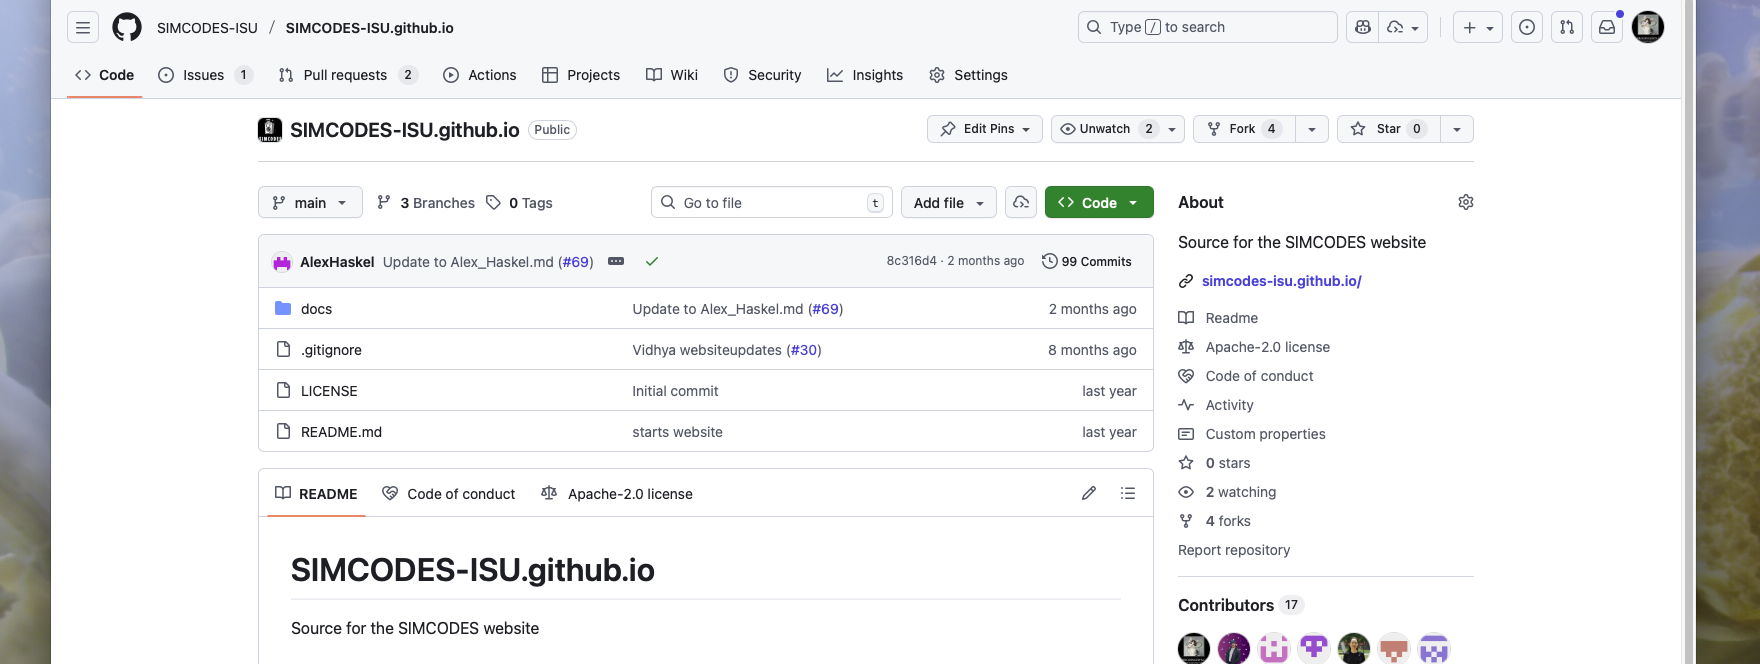
- It should looks something like:
- Click on the
docsdirectory.- The page should now look like:
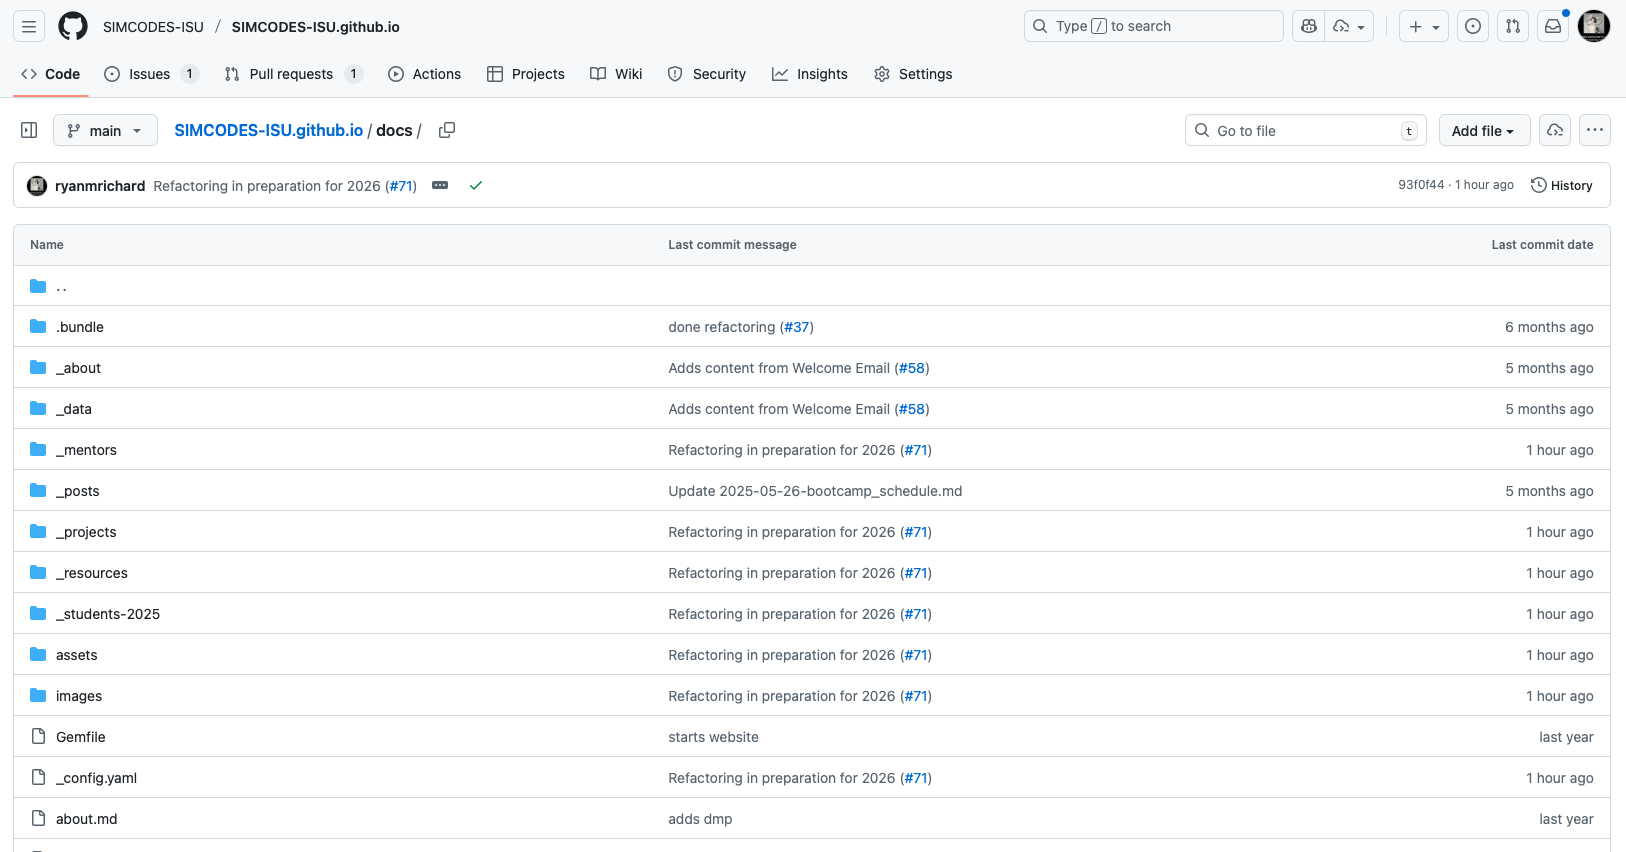
- The page should now look like:
- Navigate to the directory for your cohort, e.g., if you are part of the 2026
cohort click on
_students-2026.- If you are the first student to add a profile, the directory will not exist yet. In this case, we’ll create it as part of the next step.
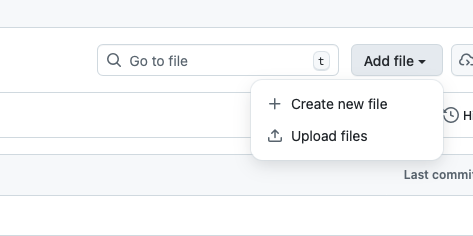
- Click
Add File. In the drop down box select “create new file” - If your year’s directory was not present in step 4, then in the “Name your
file” box type
_students-<XXXX>/(replacing<XXXX>with the four-digit year).- Once you type the
/character GitHub should create a directory and give you a new “Name your file” box. 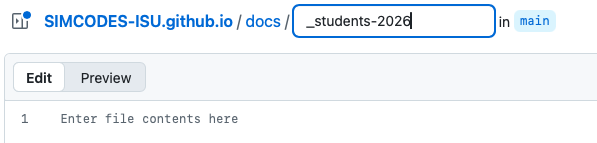
- Because typing the ‘/’ creates a new directory we were unable to capture typing the ‘/’ in the above picture.
- Once you type the
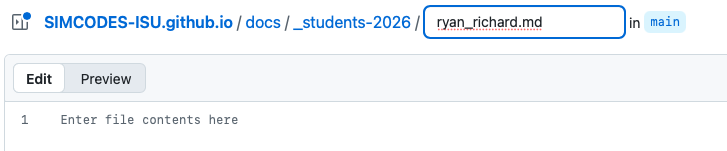
- Name your file
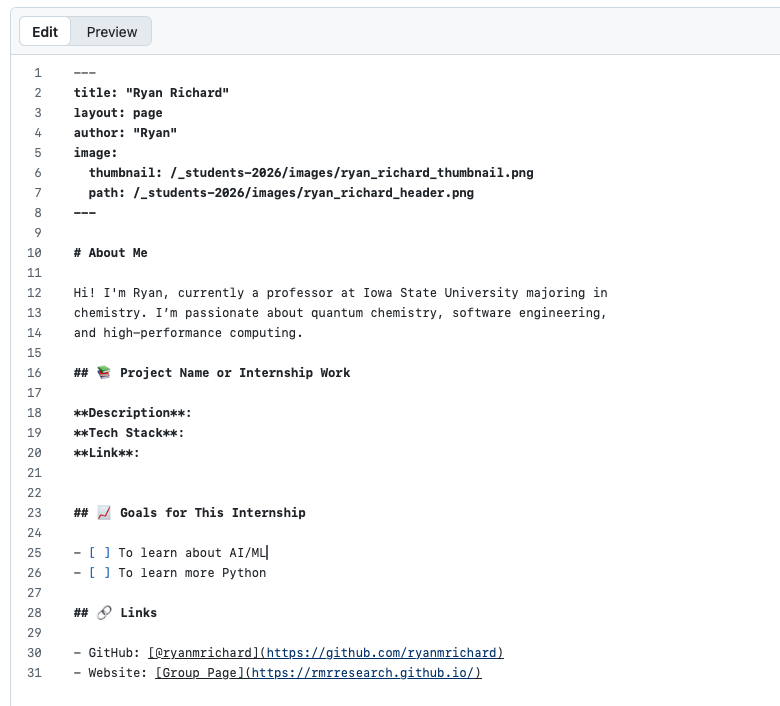
<first>_<last>.mdwhere<first>is your first name and<last>is your last name, e.g., if your name is Ryan Richard your file should be calledryan_richard.md. - Copy/paste the following text into the editor:
---
title: "<First> <Last>"
layout: page
author: "<First>"
image:
  thumbnail: /_students-<XXXX>/images/<first>_<last>_thumbnail.png
  path: /_students-<XXXX>/images/<first>_<last>_header.png
---

# About Me

Hi! I'm <First>, currently a <academic standing> at <university> majoring in
<major>. I’m passionate about <interests>.

## 📚 Project Name or Internship Work

**Description**:
**Tech Stack**:
**Link**:


## 📈 Goals for This Internship

- [ ] <goal 1>
- [ ] <goal 2>

## 🔗 Links

- GitHub: [@<github_username>](https://github.com/<github_username>)
- <other_links>
- Go through the text and replace:
<first>with your lowercase first name,<last>with your lowercase first name,<First>with your capitalized first name,<Last>with your capitalized last name,<academic standing>with freshman, sophomore, junior, or senior,<University>the name of the college or university you attend,<major>what you are majoring in (feel free to also specify minors),<interests>what are some of your academic and personal interests,<github_username>with your GitHub username<other_links>if you would like to display links to other professional accounts/websites you own add more bullet points to the list (otherwise just delete the<other_links>)<goal 1>with your first goal for the internship, e.g., learn more about AI/ML<goal 2>another goal for the internship (feel free to add more goals)- Ignore the “Project Name or Internship Work” section for now. We’ll update this once you’ve been assigned a project.
- When you’re done it should look something like:
Step 3: Draft a Pull Request
- Click “Commit changes…”
- Make sure “Create a new branch for this commit and start a pull request” is selected.
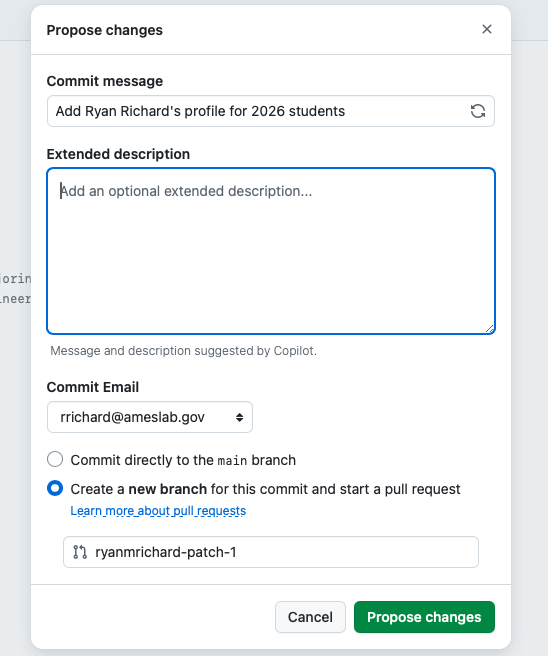
- Fill out the PR template. Specifically:
- Delete the text “Please list issues…as appropriate” and replace it with the word “No” (i.e., your profile is not being added in response to a tracked issue).
- Delete “Describe what…accomplish” and replace it with what the PR will do when it is complete, e.g., “This PR adds my profile to the XXX cohort section”
- Delete “For draft pull requests…them.” and add:
```
- Upload thumbnail image
- Upload banner image
- Make sure the green button at the bottom says “Draft pull request” and not “Create pull request”. If not, click the arrow next to “Create pull request” and select “Create draft pull request.”
- Should look something like:

- Draft the PR by clicking on the green button.
- It should look something like:
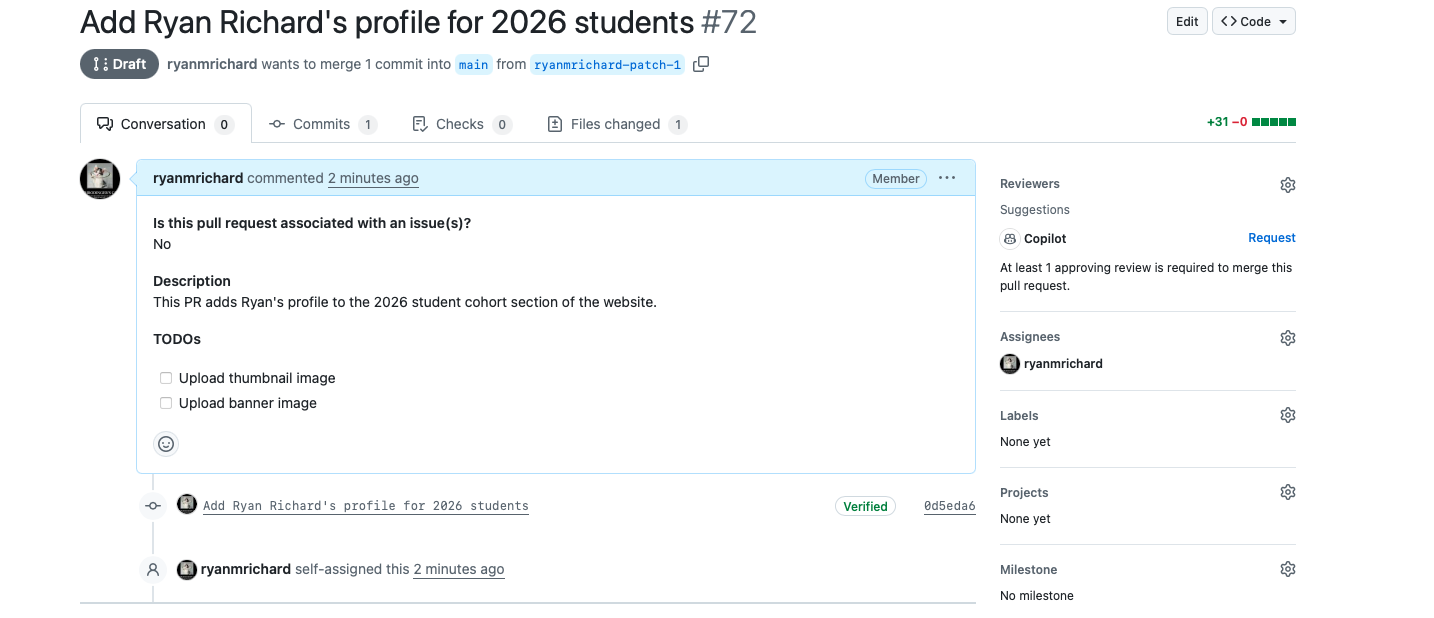
- It should look something like:
Step 4: Upload Images
At the end of Step 3 you were on the page for your pull request. If you navigated away from that page you can get back by going to the SIMCODES-ISU.github.io repo clicking on “Pull requests” at the top, and then selecting your pull request from the list.
Quick git lesson. On your pull request page, right under the title will be two
blue boxes. These are “branch” names. For now think of these as different
versions of the website. “main” is the version of the website used to actually
build the website, i.e., when you navigate to https://simcodes-isu.github.io
you see the version built from “main.” The other branch is a copy of “main,” but
with your changes added to it. Unless you changed it in Step 3, the name of your
branch should be something like ryanmrichard-patch-1 (but with your
username).
- On your pull request page, click on your branch’s name.
- This will take you to what looks like the main page of the SIMCODES-ISU.github.io repo, but with one critical difference: the file structure is that of your pull request. This is the file structure of your branch.
- You can tell you are on your pull request because the box in the top-left will display the contents of the blue box you clicked on.
- Navigate back to the your cohort’s directory.
- Click on
docsthen_students-XXXX.
- Click on
- If your
_students-XXXXdirectory has animagessubdirectory click on it. Ifimagesis not present yet, add it now.- To add an
imagesdirectory click “Add file”, then “Add new file”. In the name field typeimages/README.md.- You can leave the file blank, we’re going to be deleting it later.
- When you type the
/character the directory should be added.
- Click “Commit changes…”.
- Make sure “Commit directly to your branch” is selected (do NOT create a new pull request).
- Click “Commit changes”.
- Now navigate back to your branch’s view of
docs/_students-XXXX/images.
- To add an
- Click “Add file” then “Upload files”.
- It should look like:
- It should look like:
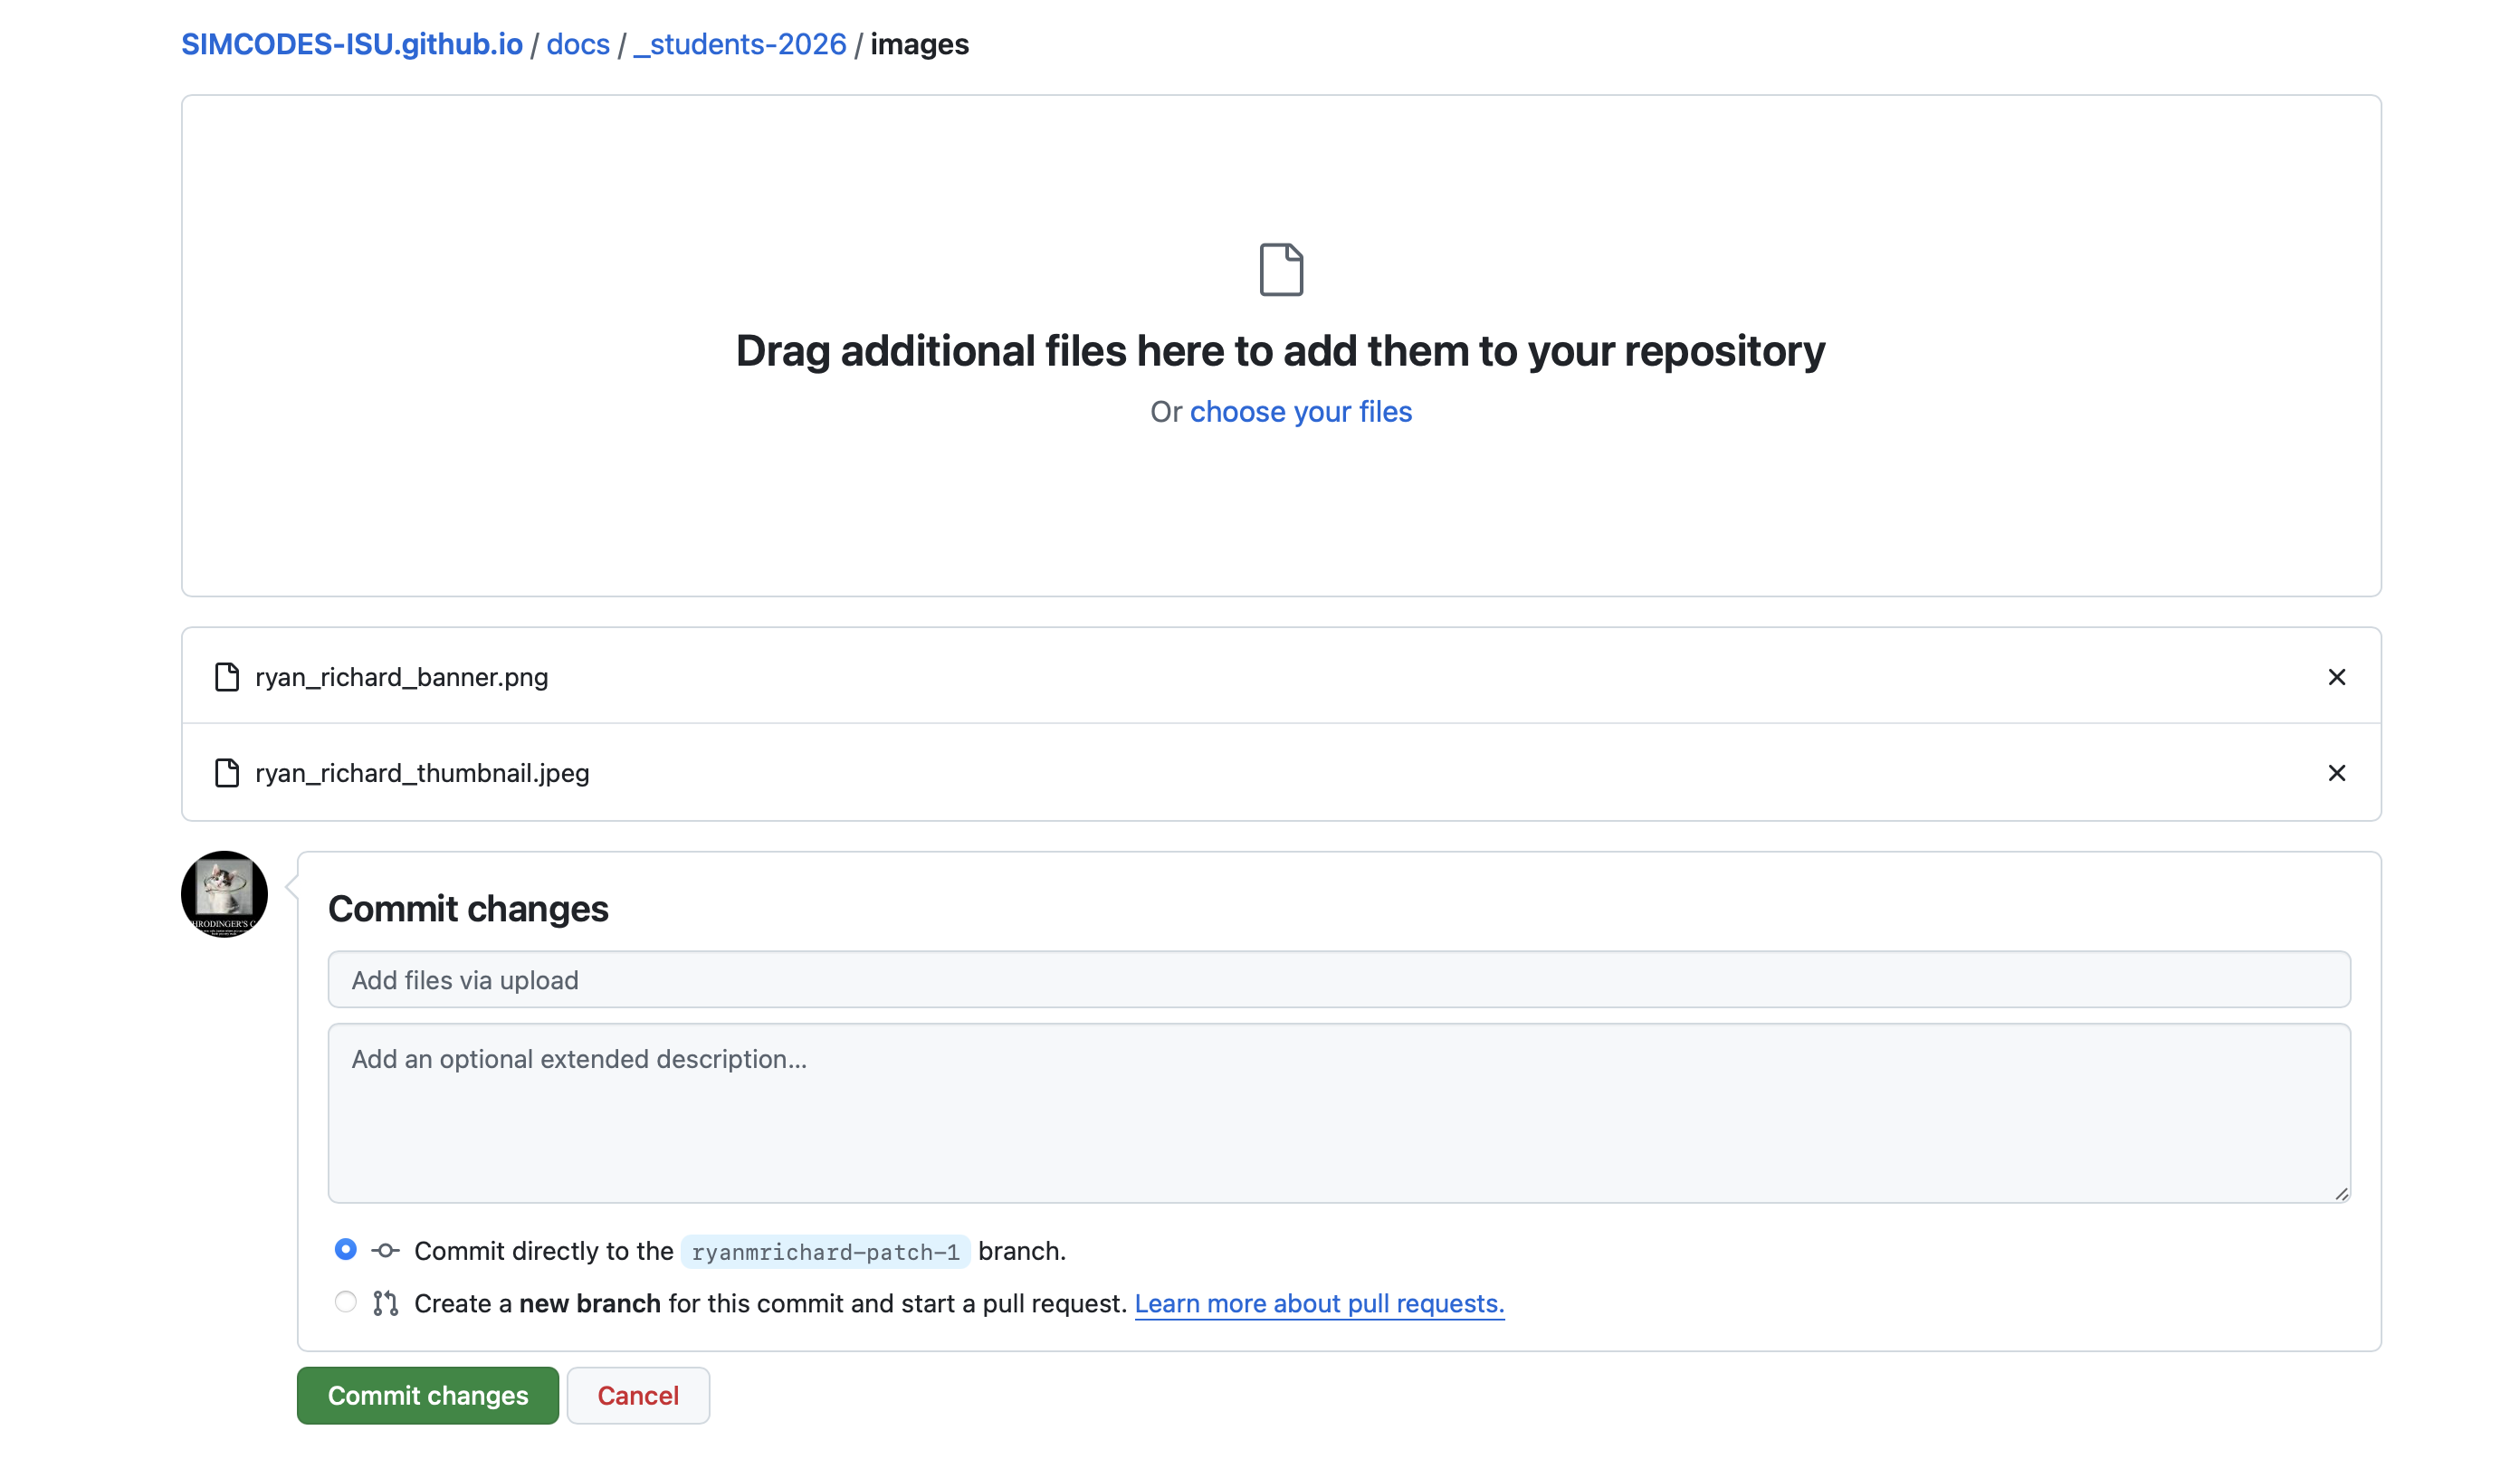
- Either drag your images onto the displayed box or click on
“choose your files”.
- Upload both your thumbnail and banner image.
- Once both are selected it should look like:
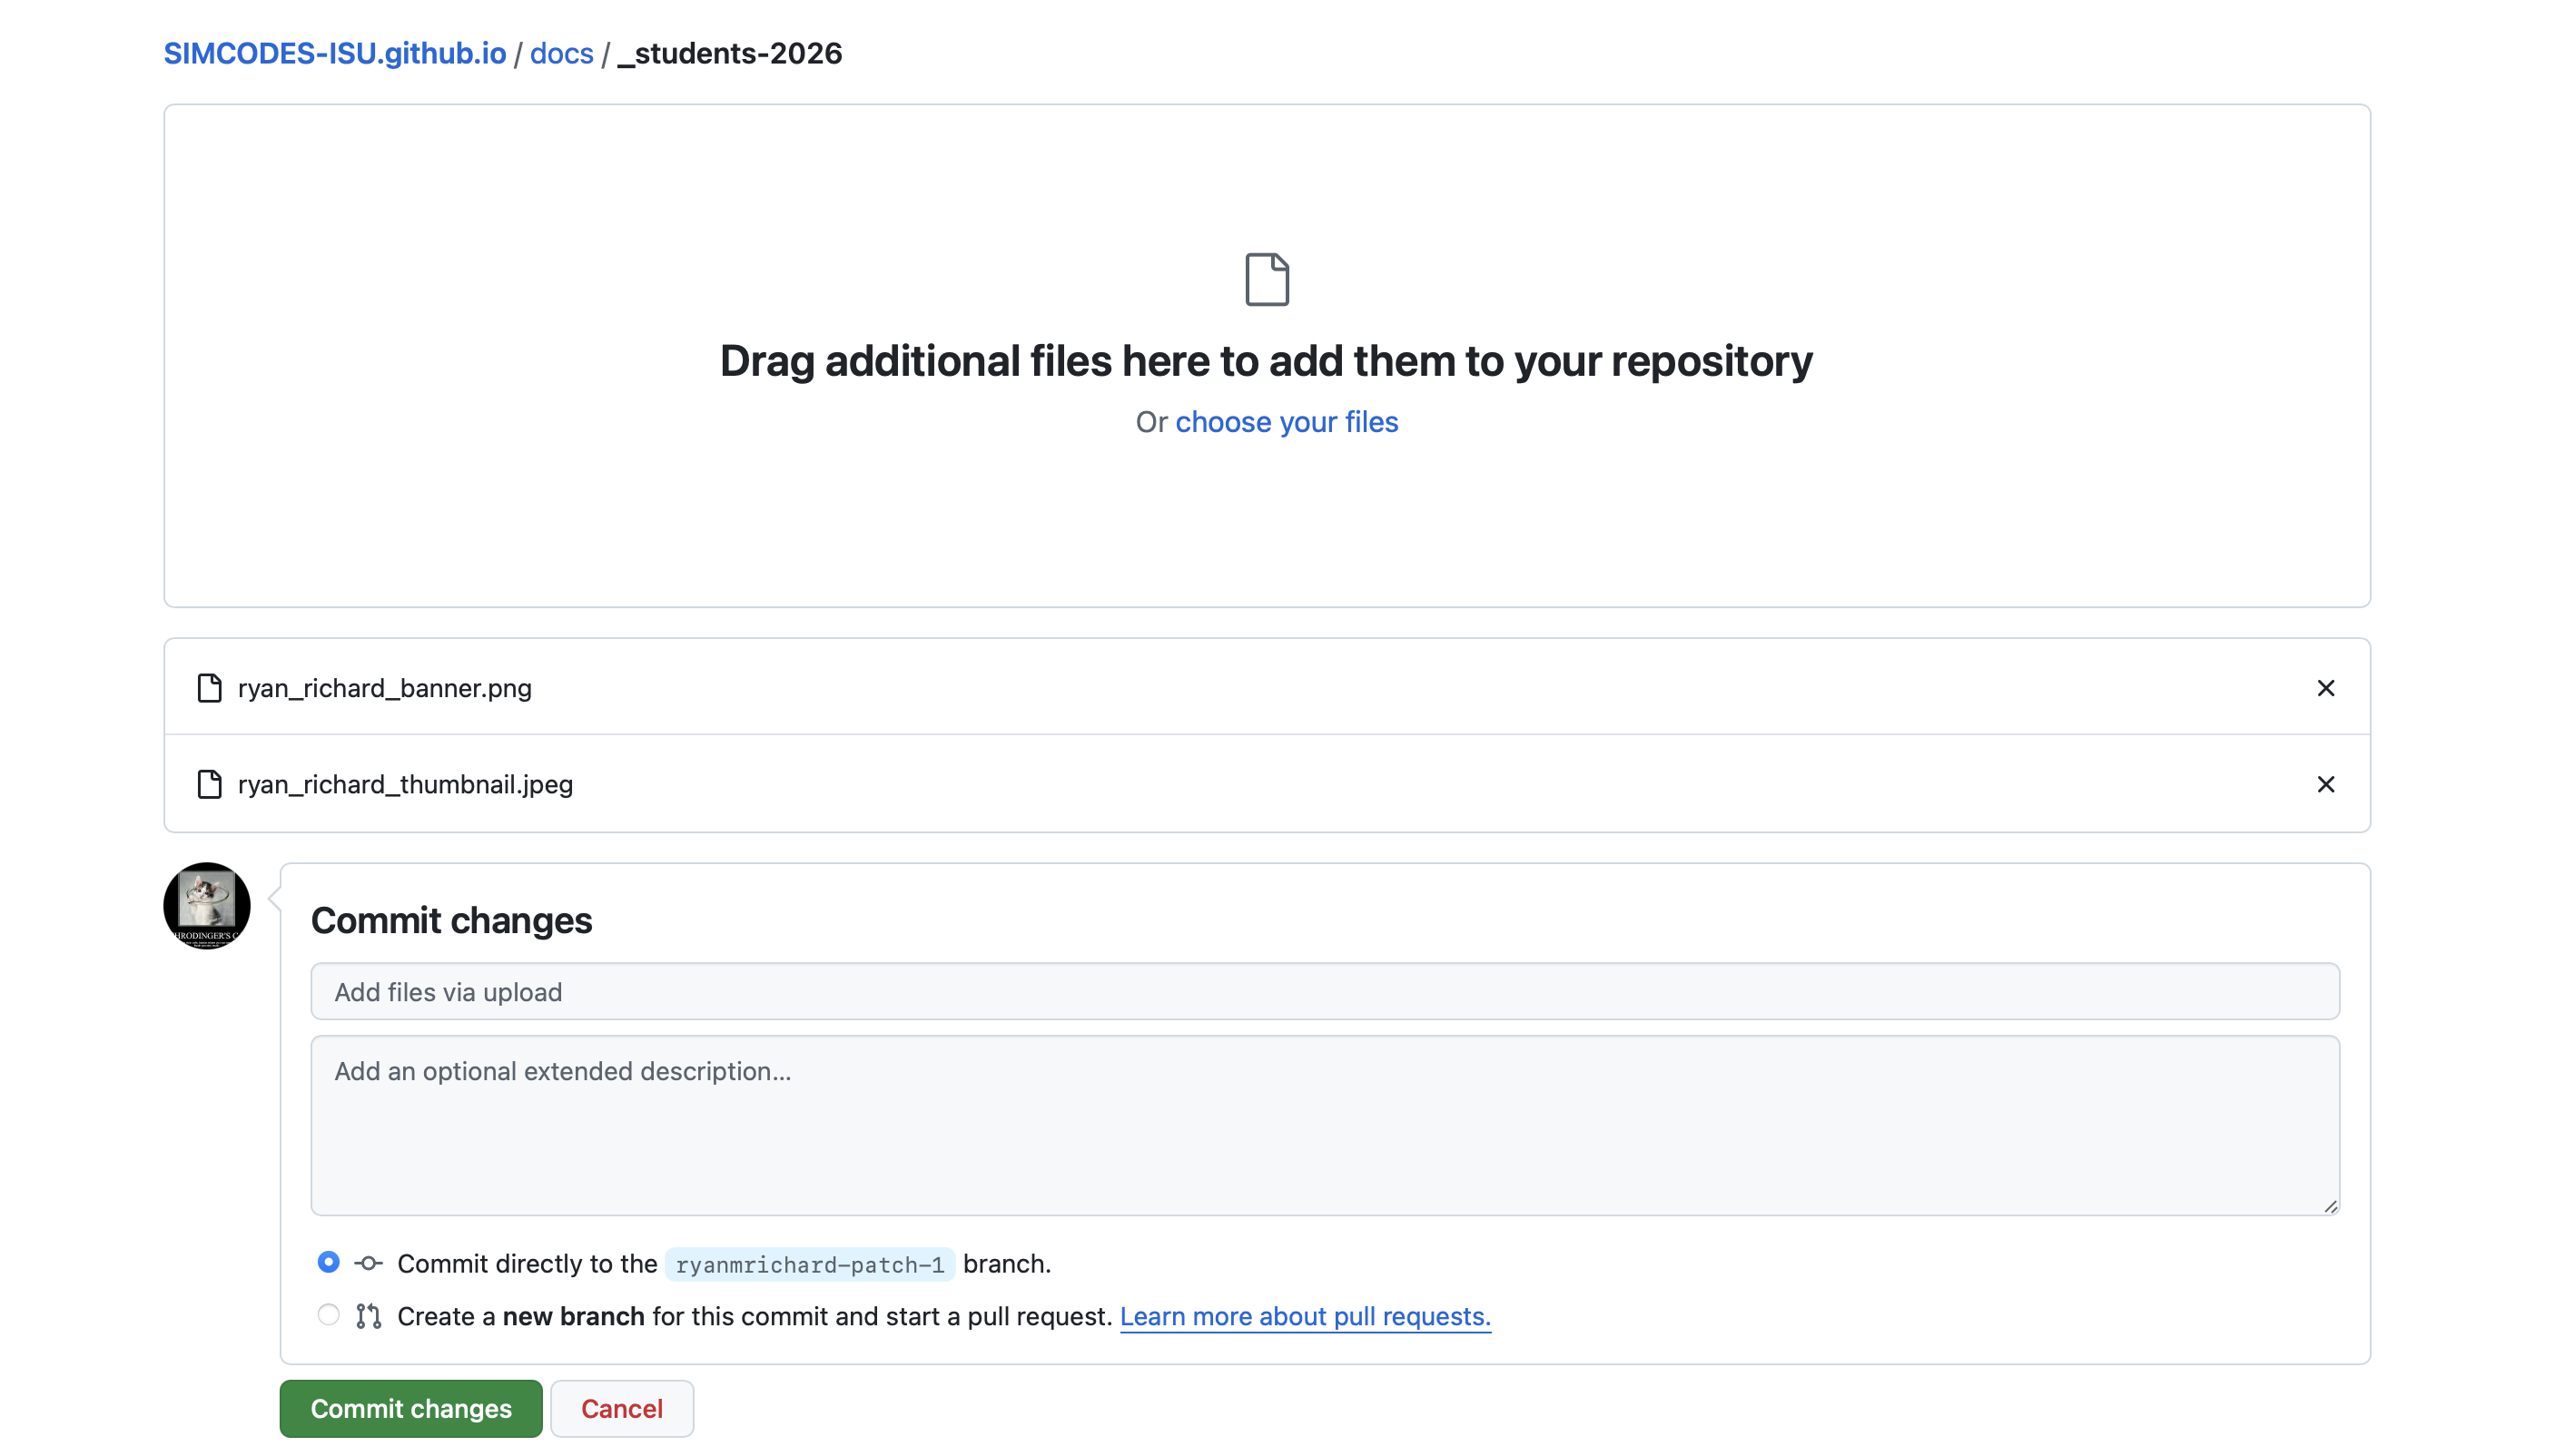
- Make sure “Commit directly to your branch” is selected and then click
“Commit changes”.
- You should be taken back to the view of your branch you saw at the end of Step 4, item number 1.
- If your cohort already had an
imagesdirectory move on to Step 5.
- If your cohort did not have an
imagesdirectory previously, navigate back todocs/_students-XXXX/imagesand deleteREADME.md.-
To delete
README.mdclick on it, then click the the button with three dots on the top.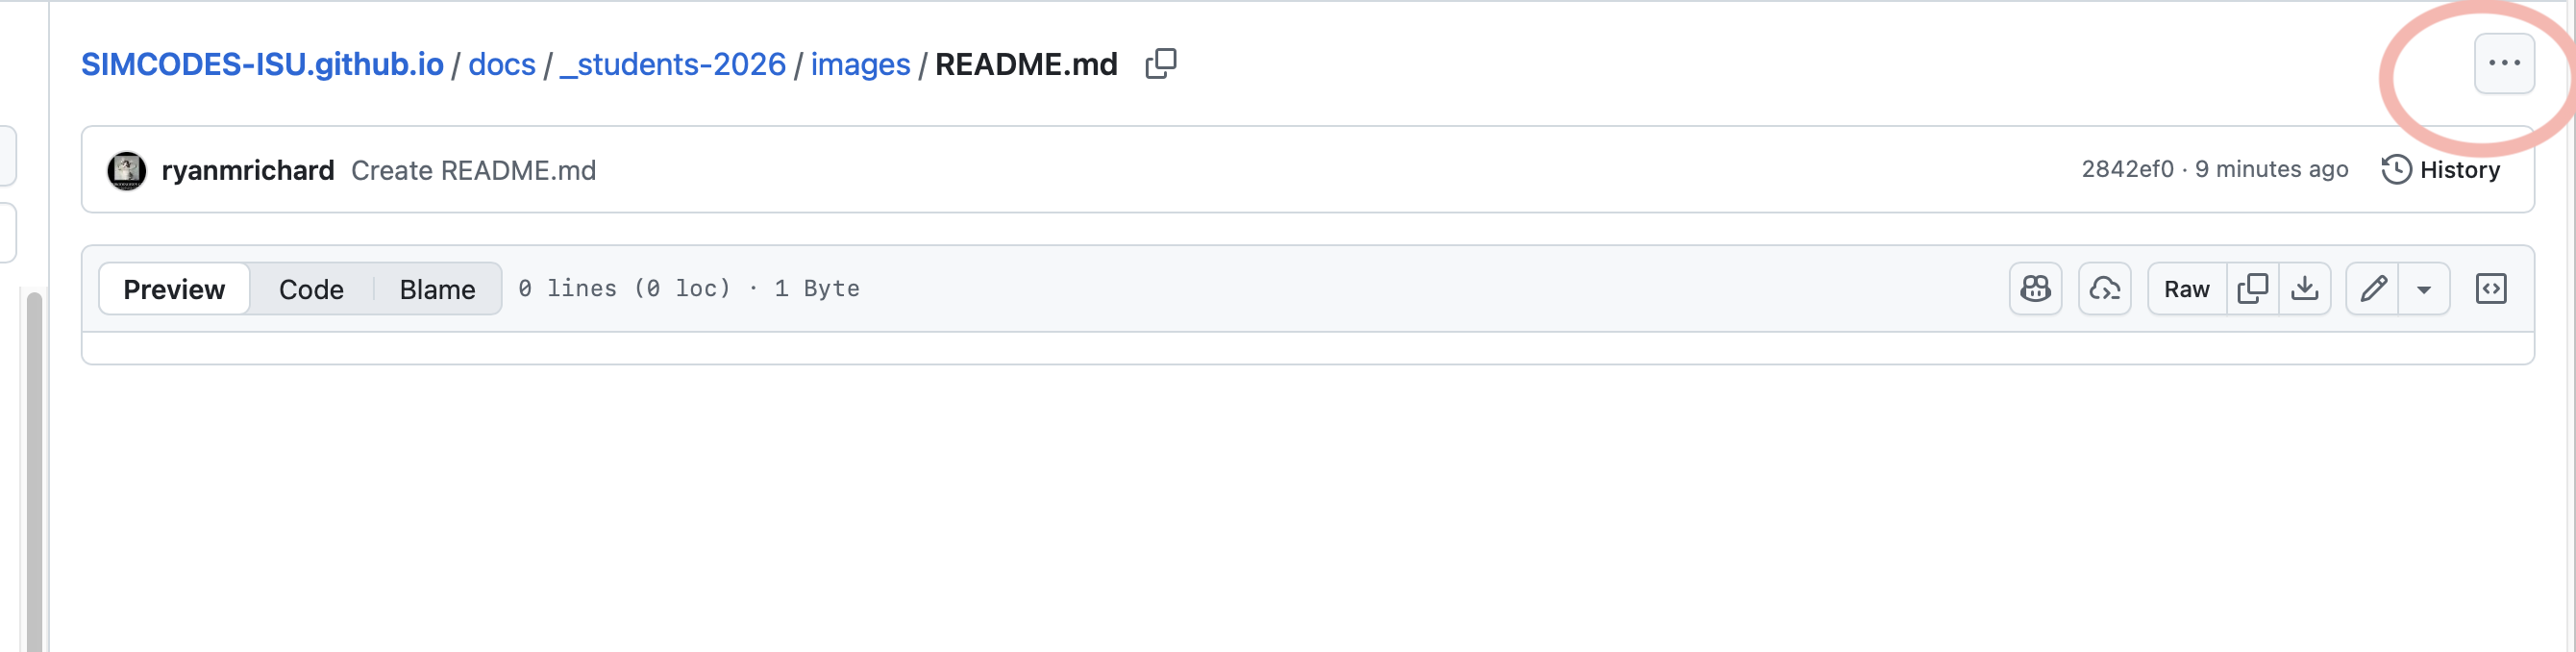
- From the drop-down menu select “Delete file”.
- Click “Commit changes…”
- Ensuring “Commit directly to your branch” is selected click “Commit changes”
-
Step 5: Mark Pull Request as Ready
- From the landing page for the SIMCODES-ISU.github.io repo, i.e., here click on “Pull requests” in the top bar.
- Select your pull request from the list.
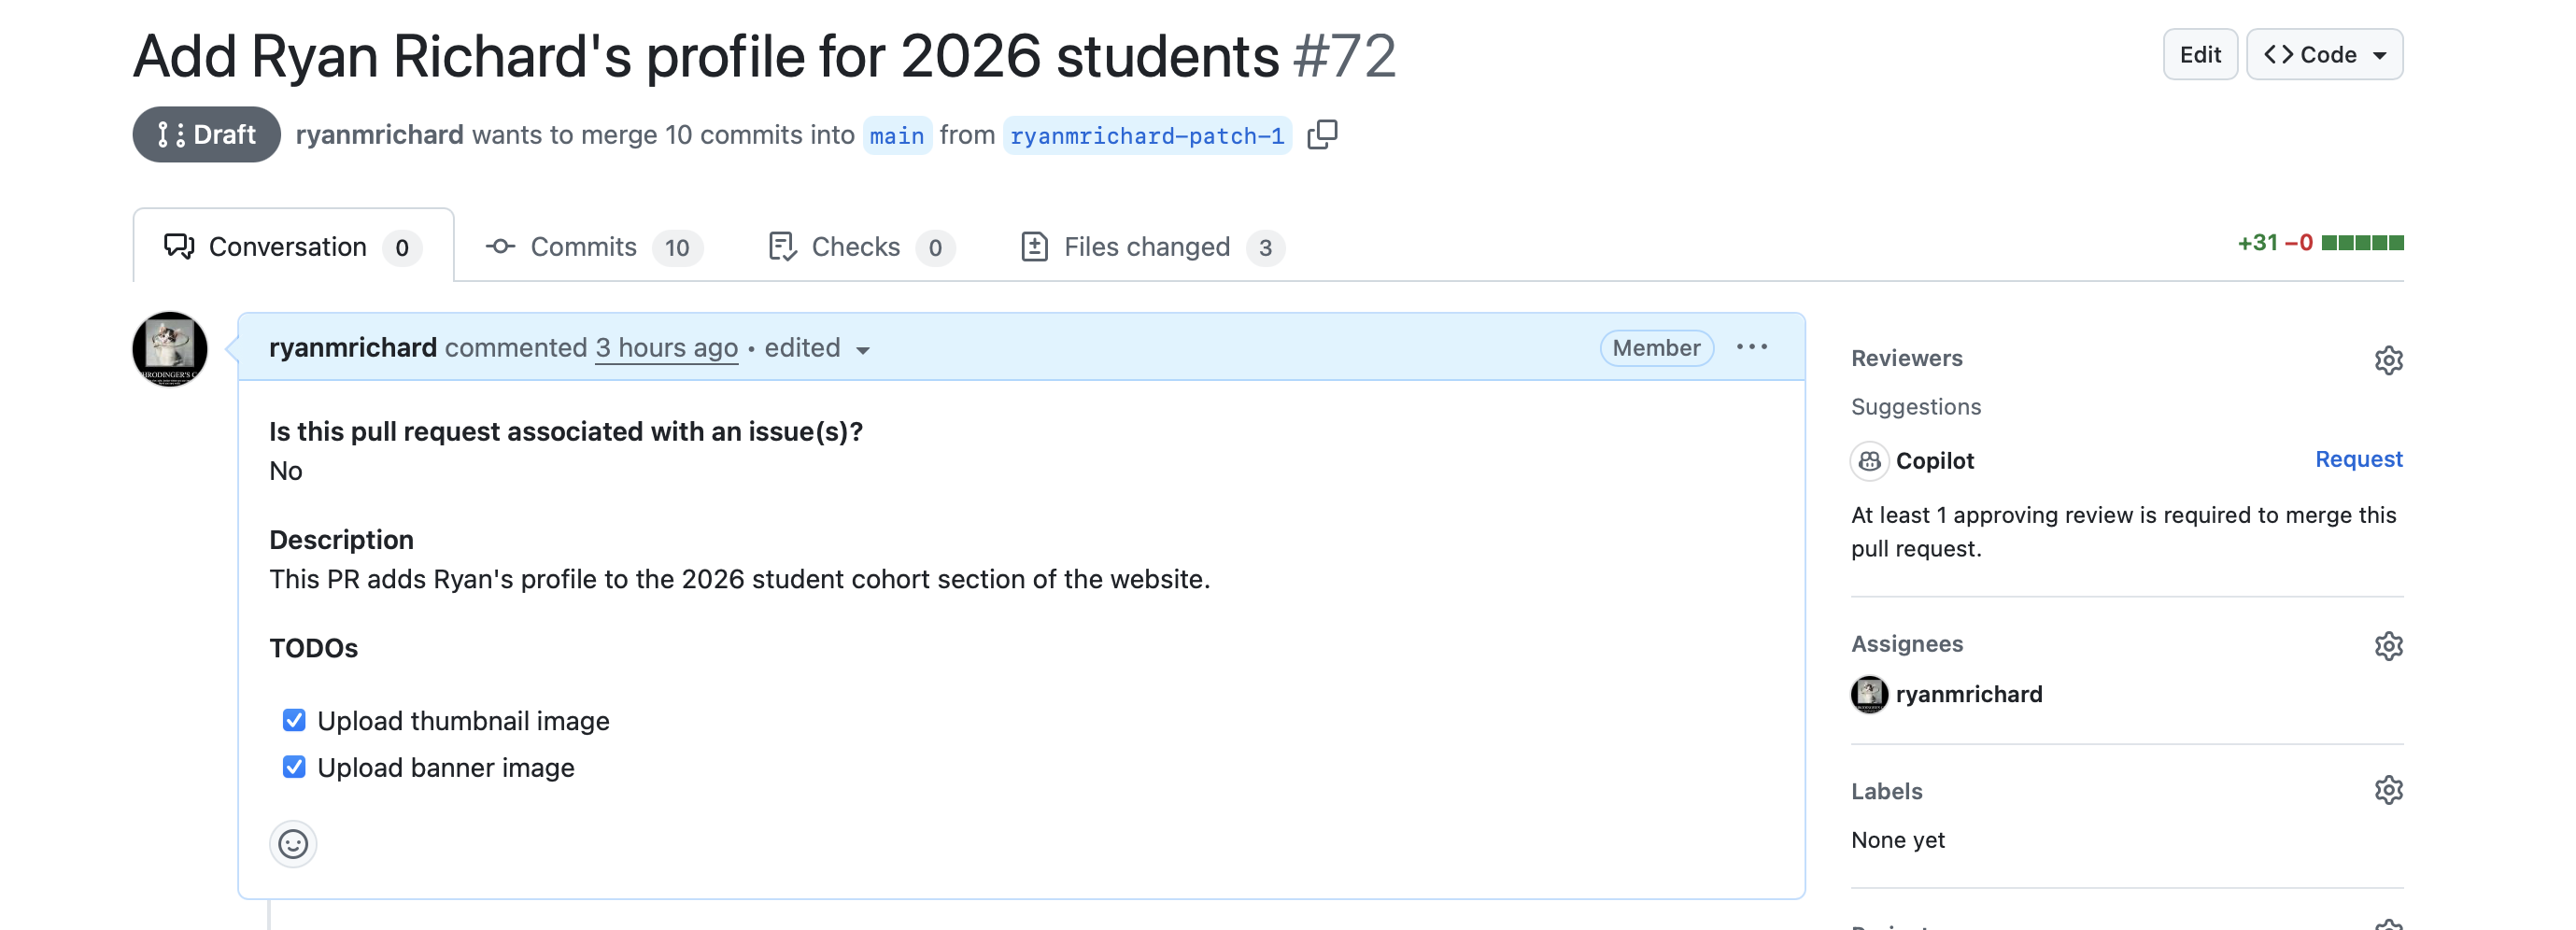
- The resulting page is the “Conversation” view of the pull request and looks
like:
- The resulting page is the “Conversation” view of the pull request and looks
like:
- (Optional) click on “Files changed” and ensure:
- Your profile is being added to
docs/_students-XXXX/<first>_<last>.md. - Your thumbnail is being added to
docs/_students-XXXX/images/<first>_<last>_thumbnail.png(your image may have a different extension) - Your banner is being added to
docs/_students-XXXX/images/<first>_<last>_banner.png(your image may have a different extension).
- Your profile is being added to
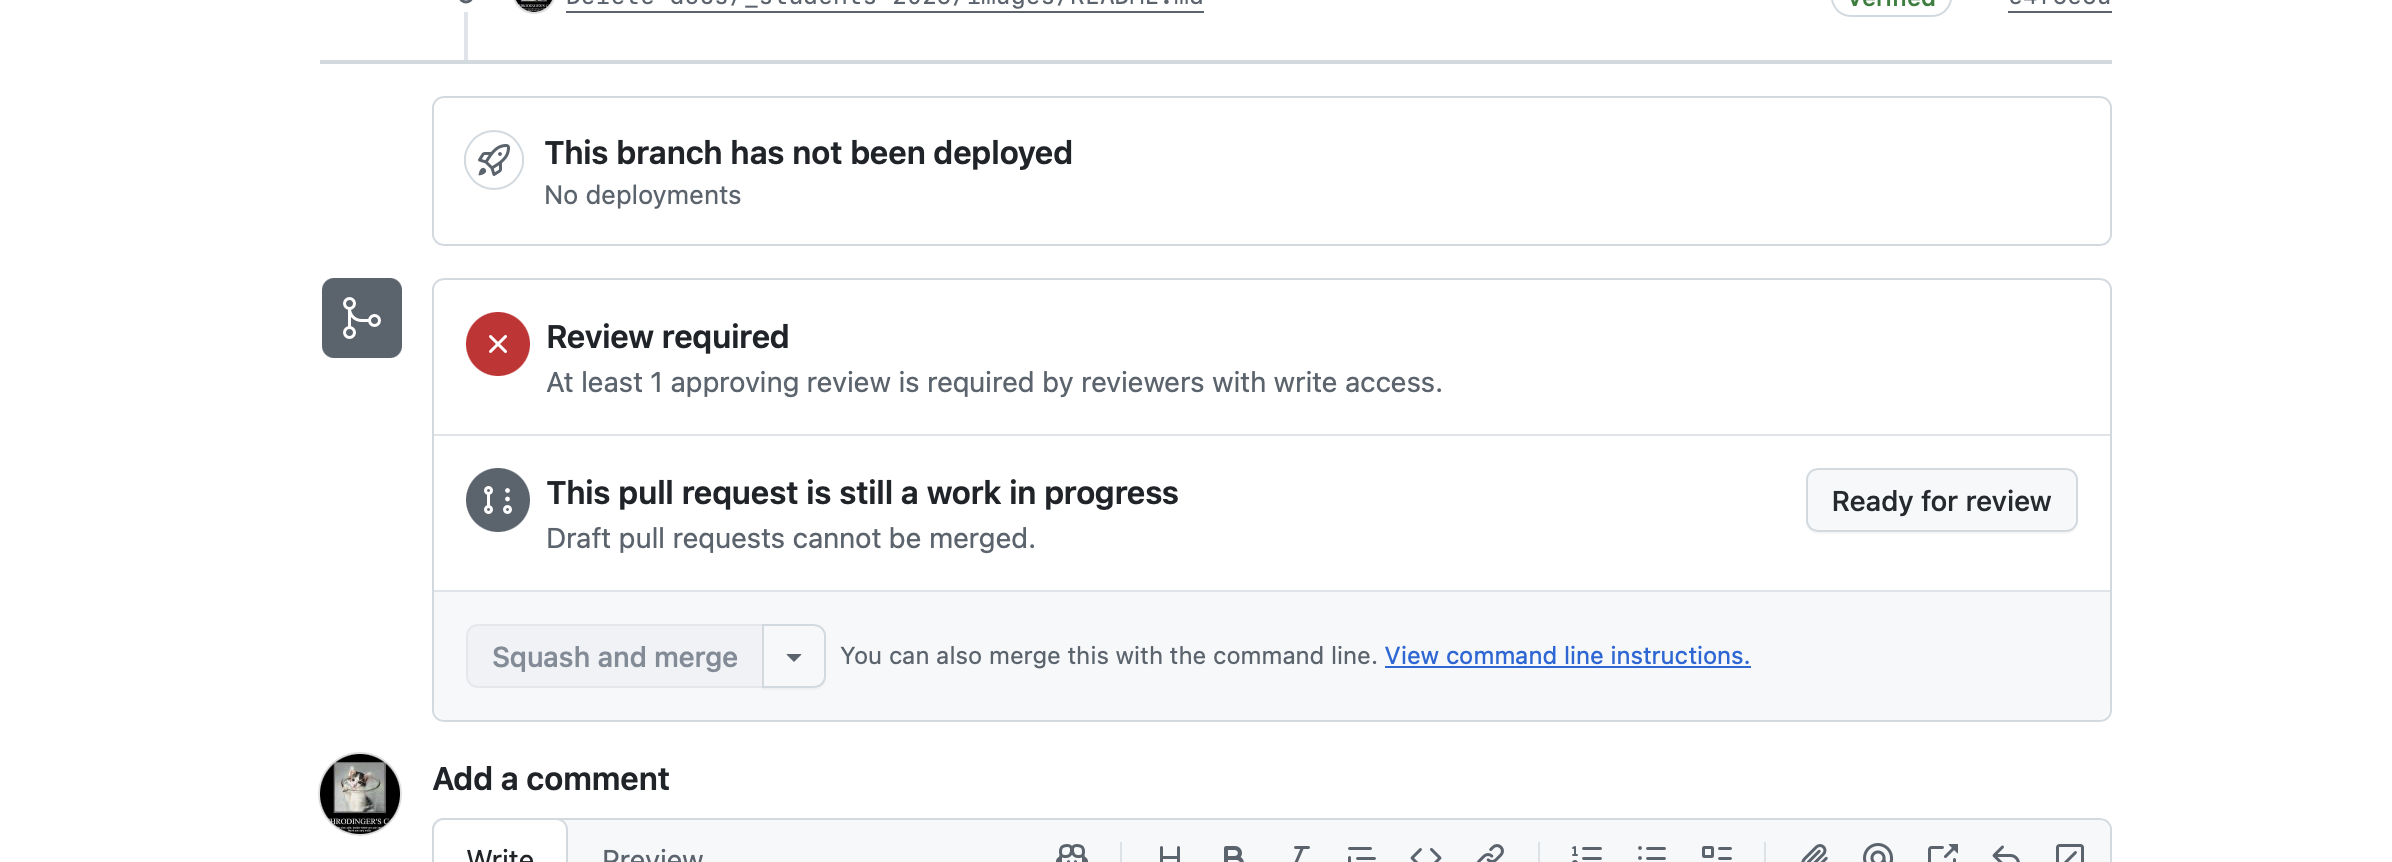
- Back on the Conversation view of your pull request (if you left it) click
the boxes next to your TODOs since you did them.
- At the bottom of your pull request select “Ready for review”.
- (Optional) if one of the SIMCODES administrators does not respond to your pull request in a day or two add a comment saying something like “reminder for review”.
Step 6. Next Steps
- If you followed this tutorial exactly, then the SIMCODES administrators should approve your pull request and your profile will be added to the website.
- If there’s something wrong with your profile the administrators will either
fix it for you (if it’s a small change) or request that you fix it.
- For uploading new phots follow the steps in Step 4. If you need to change
the text of your profile navigate to
<first>_<last>.mdand edit the file.
- For uploading new phots follow the steps in Step 4. If you need to change
the text of your profile navigate to